Software example (Arduino)
|
|
|


You can download our example for the Arduino Nano or Uno here.
This sketch works out of the box without modifications for up to 4 temperature channels and up to 2 fan control channels.
In the following we will talk about the program as a sketch.
A sketch is the name that Arduino uses for a program. It's the unit of code that is uploaded to and run on an Arduino board.
At the beginning of the sketch, there is a part where you can set up the number of temperature and fan control channels and change the pins for the temperature sensors if needed.
If you want to run more than one device, give them different device IDs. Argus Monitor can manage up to 4 different devices
// start user configuration
//=========================================================
#define DEVICE_ID 1 // Argus Monitor can manage up to 4 different devices
#define TEMPSENSOR_COUNT 4
#define PIN_TEMPSENSOR_1 A0
#define PIN_TEMPSENSOR_2 A1
#define PIN_TEMPSENSOR_3 A2
#define PIN_TEMPSENSOR_4 A3
#define FAN_COUNT 2
// #define DEBUG_OUTPUT
//=========================================================
// end user configuration
Unzip the example and load the sketch ArgusController.ino into the Arduino IDE.
Compile it, make sure the Arduino board and the serial port for your Arduino Nano or Uno are setup correctly within the IDE, then press upload button to program the sketch into the hardware.
After that the device is usable in Argus Monitor (at least Argus Monitor version 5.0.4 is required for this).
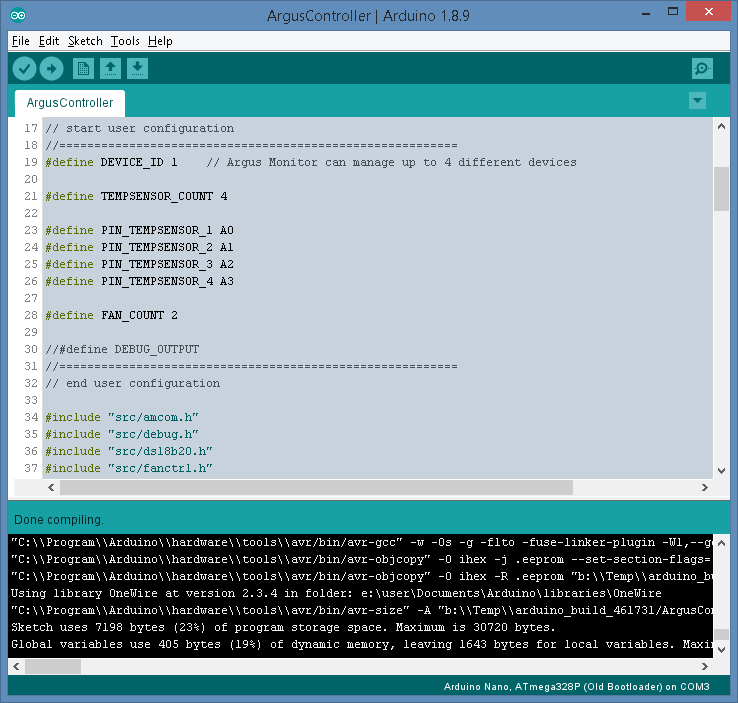
Arduino IDE with the compiled sketch
If you want to adapt the sketch for other usages, you should be familiar with the Arduino environment and have some C/C++ knowledge.
Note: If you want to change or extend the fan control pins, you need a somewhat deeper knowledge of the AVR controller on the Arduino platform because only special pins are available for PWM creation.